Hey Folks, In this tutorial we are going to talk about an security scanner tool called “Tsunami” designed by Google. Tsunami is a general-purpose network security scanner with an extensible plugin system for detecting high severity vulnerabilities with high confidence. Google claims that Tsunami is an extensible network scanning engine for detecting high severity vulnerabilities with high confidence in an unauthenticated manner. As we told this tool is designed for general-purpose such as : network scanning, banner grabbing and ports vulnerability.
Key Feature
- Tsunami detectors are easy to implement.
- Tsunami is easy to scale, executes fast and scans non-intrusively.
- Tsunami supports small manually curated set of vulnerabilities
- Tsunami generates scan results with high confidence and minimal false-positive rate.
- Tsunami detects high severity, RCE vulnerabilities, which often actively exploited in the wild.
Prerequisite
Ubuntu – ( 18.04 )
Lets take a look 🙂 !!
Install Dependencies
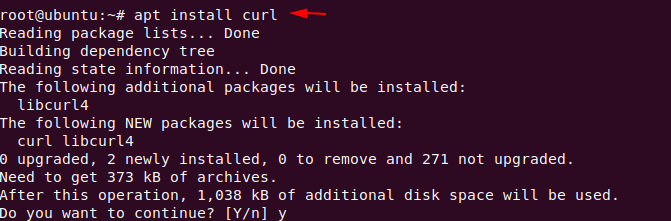
cURL
cURL is an computer software project providing a library and command-line tool for transferring data using various network protocol. We can simply download this tool by execute the following command on the terminal.
1 | apt install curl |
Nmap
Nmap is a free and open-source network scanner tool that is used to discover hosts and services on a computer network by sending packets and analyzing the responses. Nmap comes pre installed in kali linux but if we are using the ubuntu os then we can use the following command.
1 | apt install nmap |

Ncrack
Ncrack is a high-speed network authentication cracking tool which is designed to brute force attack on authentication via dictionary. The installation process of download is quite simple just enter the following command.
1 | apt install ncrack |

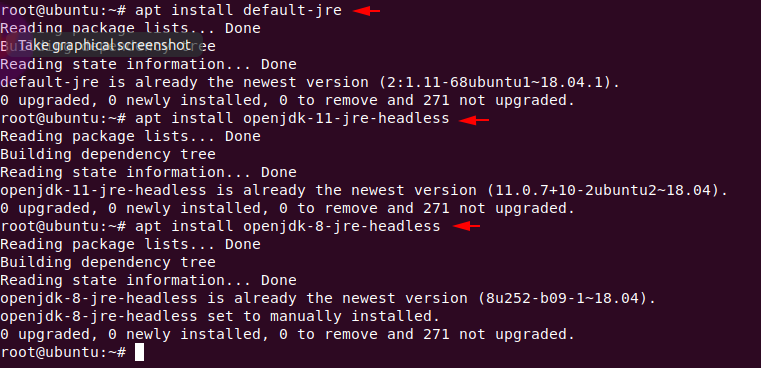
Java – Open JDK
Now we will install JDK and java Runtime Environment (JRE) in ubuntu OS.
1 2 3 | apt install default-jre apt install openjdk-11-jre-headless apt install openjdk-8-jre-headless |
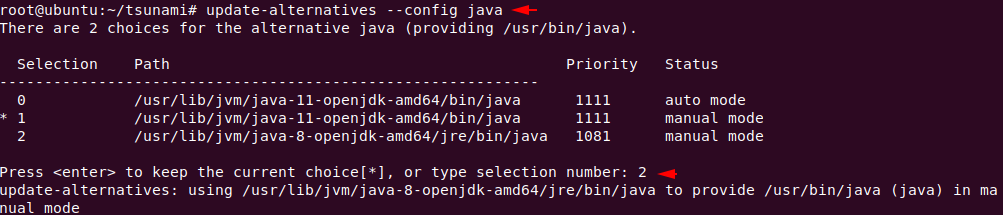
To set java to use JDK 8 as the default, you can use an interactive command update-alternatives –config java command. You can use if you are face some error otherwise skip it.
1 | update-alternatives --config java |
Installation Tsunami
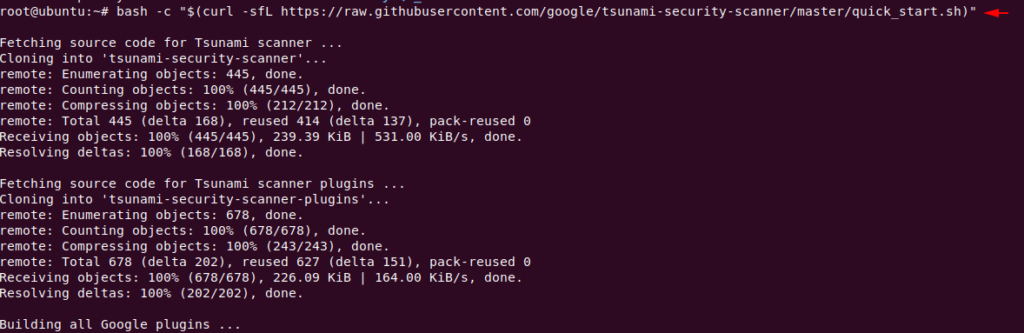
The installation is quite simple just we have to do is execute the following command from which the curl tool will automatically download the bash script from Google’s github page and execute it.
1 | bash -c "$(curl -sfL https://raw.githubusercontent.com/google/tsunami-security-scanner/master/quick_start.sh)" |
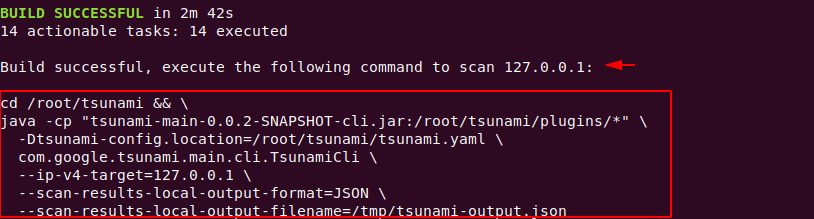
After complete the installation it will give the command from which we can test the tool to see if it works perfectly. But first we will identify the features of this tool.
Options
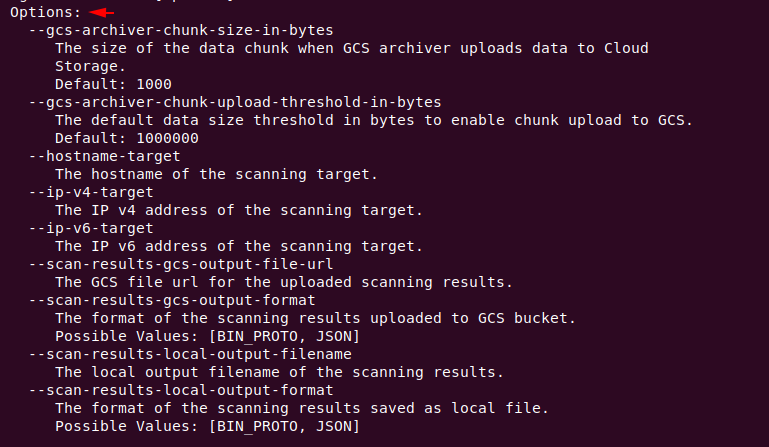
There is a jar file in the tsunami directory with the help of which we can check the option of this tool.
1 | java -jar tsunami-main-0.0.2-SNAPSHOT-cli.jar |

- —gcs-archiver-chunk-size-in-bytes = The size of the data chunk when GCS archiver uploads data to Cloud
Storage.
Default: 1000 - —gcs-archiver-chunk-upload-threshold-in-bytes = The default data size threshold in bytes to enable chunk upload to GCS.
Default: 1000000 - —hostname-target = The hostname of the scanning target.
- —ip-v4-target = The IP v4 address of the scanning target.
- —ip-v6-target = The IP v6 address of the scanning target.
- —scan-results-gcs-output-file-url = The GCS file url for the uploaded scanning results.
- —scan-results-gcs-output-format = The format of the scanning results uploaded to GCS bucket.
Possible Values: [BIN_PROTO, JSON] - —scan-results-local-output-filename = The local output filename of the scanning results.
- —scan-results-local-output-format = The format of the scanning results saved as local file.
Possible Values: [BIN_PROTO, JSON]
Scanning
Before starting this, we check the open ports in our system.
1 | nmap localhost |
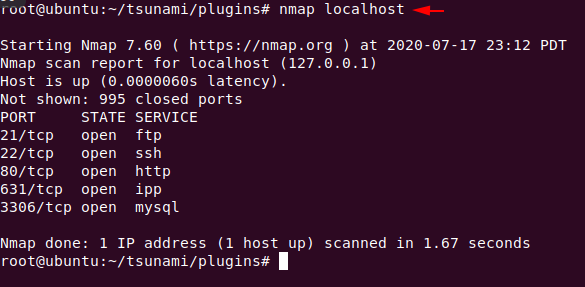
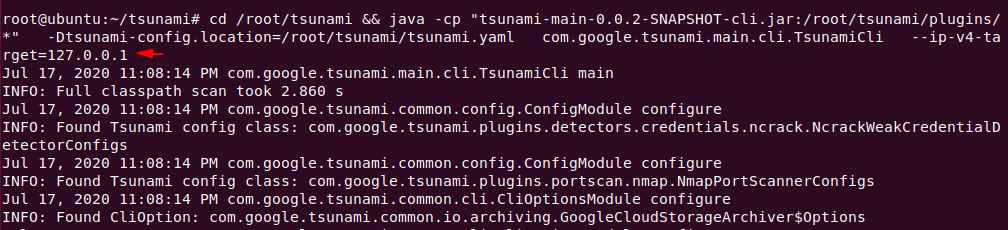
We have already tested the opened ports in our localhost system but with the help of this tool we will try to find out more in-depth details about the open ports like version: name, protocol etc. For this mission we have to execute the following command.
1 | cd /root/tsunami && java -cp "tsunami-main-0.0.2-SNAPSHOT-cli.jar:/root/tsunami/plugins/*" -Dunami-config.location=/root/tsunami/tsunami.yaml com.google.tsunami.main.cli.TsunamiCli --ip-v4-target=127.0.0.1 |
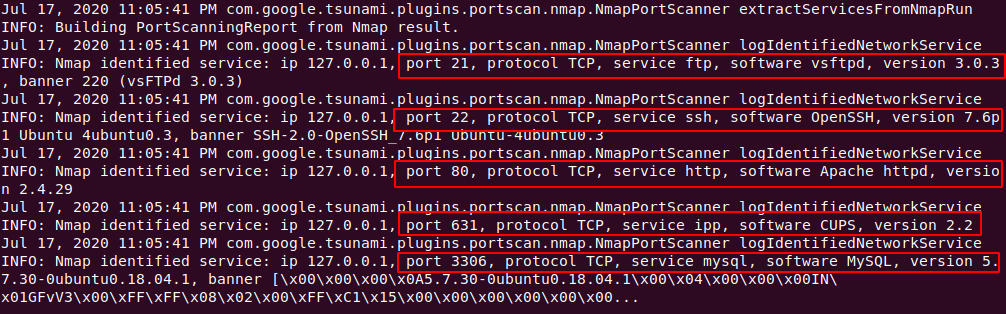
As you can see, without giving additional parameters it has given us a deeper description of those ports like: porst, protocol, service, version, etc.
Now if we want to save our results then there is also no need, because the result is to be automatically saved in the “tmp” directory.

After go into the tmp directory, you can check the scanning results one after the other.

Continue Reading 🙂 !!